
Table of Contents
Introduction
The Ring Video Doorbell has become popular for homeowners seeking enhanced security and convenience. It allows users to see, hear, and speak to visitors from their smartphones, tablets, or PCs. However, proper installation is crucial for its functionality. The Ring Video Doorbell Installation guide provides a step-by-step breakdown of installing your Ring Video Doorbell, includes key technical details, and outlines common mistakes to avoid.
Step-by-Step Installation Guide
1. Gather Necessary Tools

Before starting, Ring Video Doorbell Installation, ensure you have:
- A Phillips-head screwdriver
- A power drill (if mounting on brick or concrete)
- Mounting screws and anchors (included with the Ring Doorbell)
- Level tool (included)
- Ring app installed on your smartphone
2. Charge the Battery (For Wireless Models)

If using a battery-powered Ring Doorbell, before Ring Video Doorbell installation, charge the internal battery using the provided USB cable until fully charged.
3. Set Up the Doorbell in the Ring App
a. Download the Ring App
- Go to the App Store (iOS) or Google Play Store (Android)
- Search for “Ring – Always Home”
- Download and install it
b. Log in or Create a Ring Account
- Open the app
- Sign in or tap “Create Account” and follow the prompts
c. Tap “Set Up a Device.”
- On the home screen, tap the menu (☰) > “Set Up a Device”
- Choose “Doorbells”
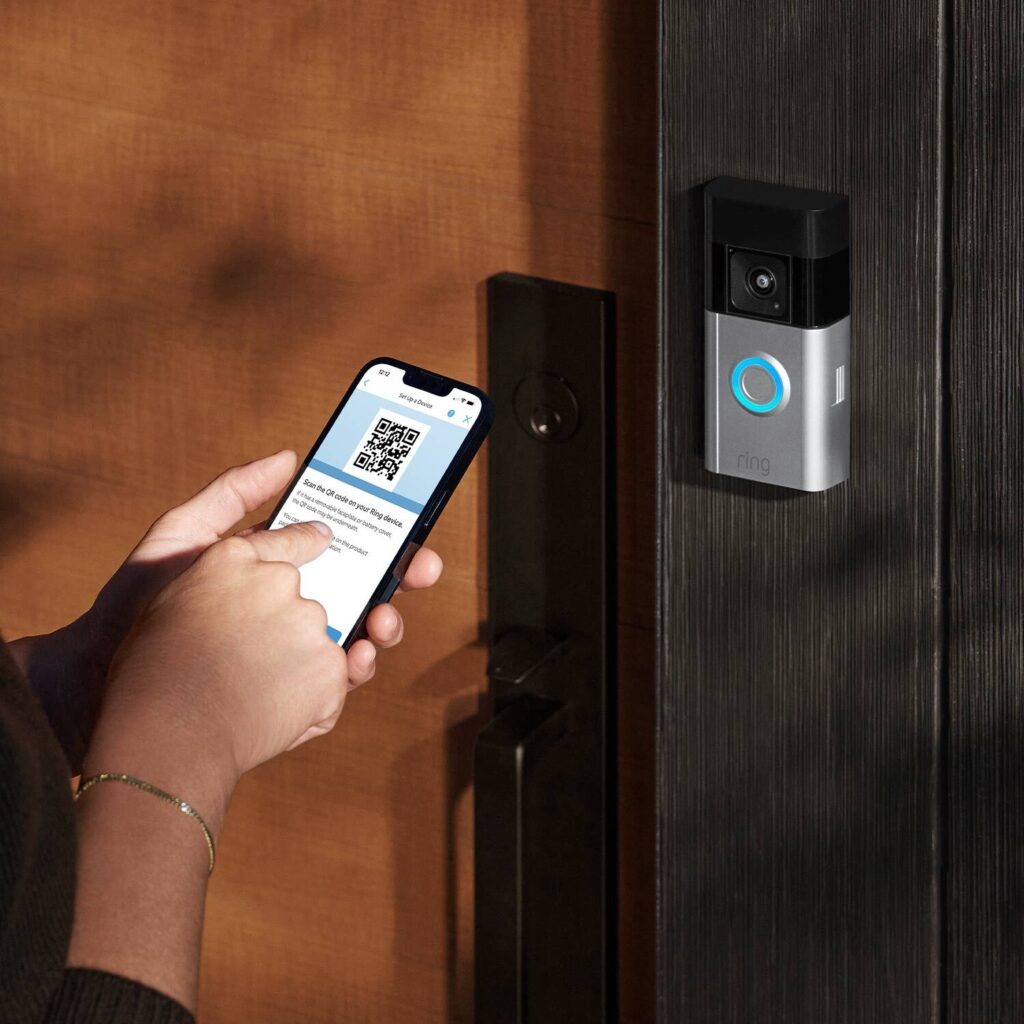
d. Scan the QR Code or MAC ID
- Find the QR code on the doorbell or in the packaging
- Use your phone to scan it with the app
- Alternatively, you can enter the 5-digit MAC ID manually
e. Give Your Doorbell a Name
- Choose from pre-set names or enter a custom one
f. Put the Doorbell in Setup Mode
- Press and release the orange button on the back of the device
- The front light will begin spinning white — this means it’s in setup mode
g. Connect to Ring’s Temporary Wi-Fi
- The app will prompt you to join the Ring Wi-Fi network (e.g., “Ring-XXXX”)
- Go to your phone’s Wi-Fi settings and connect
h. Connect to Your Home Wi-Fi
- Return to the app
- Select your home Wi-Fi network and enter the password
- The doorbell will attempt to connect to your home network
i. Complete Setup
- The app will confirm once setup is complete
- It may update the firmware — leave it alone while this happens
j. Mount Your Doorbell (If Not Already Installed)
- Follow in-app instructions or the included paper manual for mounting
- Use included tools and screws
- Optional: attach angle brackets or wedges if needed for a better view
- Open the Ring app and follow the in-app setup instructions.
- Connect the device to Wi-Fi and test the video feed.
✅ Tips for Success
- Ensure your phone is connected to 2.4 GHz Wi-Fi (some models support 5 GHz)
- Keep the doorbell close to the router during Ring Video Doorbell installation.
- Charge the doorbell fully before Ring Video Doorbell Installation if battery-powered
Would you like help with a specific model (like Ring Doorbell Pro, 2nd Gen, or Battery Plus)?
4. Choose the Installation Location before starting Ring Video Doorbell Installation
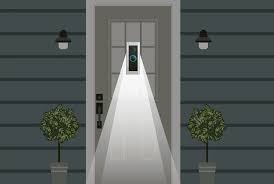
- Recommended height: 4 feet from the ground for optimal motion detection.
- Ensure the Wi-Fi signal is strong at the installation spot.
5. Mounting the Doorbell
For Wireless Installation
- Remove the mounting bracket and use the mini-level to ensure proper alignment.
- Mark the drill holes and drill if necessary.
- Secure the mounting bracket using screws.
- Attach the doorbell to the bracket and lock it with security screws.
For Wired Installation
- Turn off the power at the breaker.
- Remove the old doorbell and disconnect the wires.
- Attach the mounting bracket using screws and anchors.
- Connect the doorbell wires to the terminals on the back of the Ring Doorbell.
- Secure the doorbell onto the bracket and tighten security screws.
- Turn the power back on and test the doorbell.
Common Mistakes & How to Avoid Them
1. Incorrect Mounting Height
If the mounting height of your Ring doorbell is incorrect, it can lead to several issues that impact the device’s functionality. Here’s what could go wrong and how to fix it:
🔍 Problems Caused by Incorrect Mounting Height
- Poor Motion Detection
- Too High: May miss motion close to your door or only detect movement farther away.
- Too Low: May detect too much irrelevant motion (e.g., pets, passing cars).
- Reduced Field of View
- Too High: You may not see people’s faces clearly, only the tops of their heads.
- Too Low: You may miss activity happening further from the door.
- Increased False Alerts
- Improper angle may cause the motion sensor to pick up passing traffic, waving trees, or sunlight glare.
- Intercom Audio Quality Issues
- Poor positioning might affect the microphone/speaker orientation, making two-way communication harder to hear or distorted.
✅ Recommended Mounting Height
- Ideal Height: 48 inches (4 feet) above the ground (for most models)
- This allows the camera and sensors to best detect motion using the infrared and heat-based PIR sensor, which is angled to detect movement within a specific zone.
🛠️ What You Can Do
i. Adjust the Mounting
- Reposition the device to 48 inches from the ground.
- If you can’t remount it easily, consider using a wedge kit or angle mount to tilt it properly.
ii. Use Motion Zones
- Customize motion zones in the Ring app to reduce unwanted alerts caused by height issues.
iii. Test the Field of View
- Use Live View in the Ring app to check visibility and adjust as needed.
🧰 Tools You May Need
- Screwdriver or drill (to remount)
- Level (to ensure correct angle)
- Ring-provided wedge kit or purchase separately if needed
Let me know your Ring model and mounting scenario if you’d like personalized suggestions!
- Mistake: Installing the doorbell too high or too low, affecting motion detection.
- Solution: Mount at 4 feet from the ground for optimal coverage.
2. Weak Wi-Fi Signal
- Mistake: Installing the doorbell too far from the router, leading to connectivity issues.
- Solution: Check Wi-Fi strength before installation and use a Ring Chime Pro if needed.
3. Skipping Battery Charging
- Mistake: Not charging the battery before installation, leading to immediate power loss.
- Solution: Fully charge the battery before mounting.
4. Improper Wiring (For Wired Models)
- Mistake: Incorrectly connecting wires or forgetting to turn off the power.
- Solution: Follow the Ring app instructions carefully and ensure wires are securely attached.
5. Not Using Anchors for Brick/Concrete Walls
- Mistake: Mounting directly onto brick or concrete without anchors, causing instability.
- Solution: Use wall anchors for a secure installation.
Conclusion
If done correctly, installing a Ring Video Doorbell is straightforward. You can ensure a secure and efficient setup by following the step-by-step guide and avoiding common mistakes. Whether opting for a wired or wireless installation, proper placement and connectivity are key to maximizing the device’s performance.
For visual guidance, check out the following installation video: How to Install Ring Video Doorbell.


